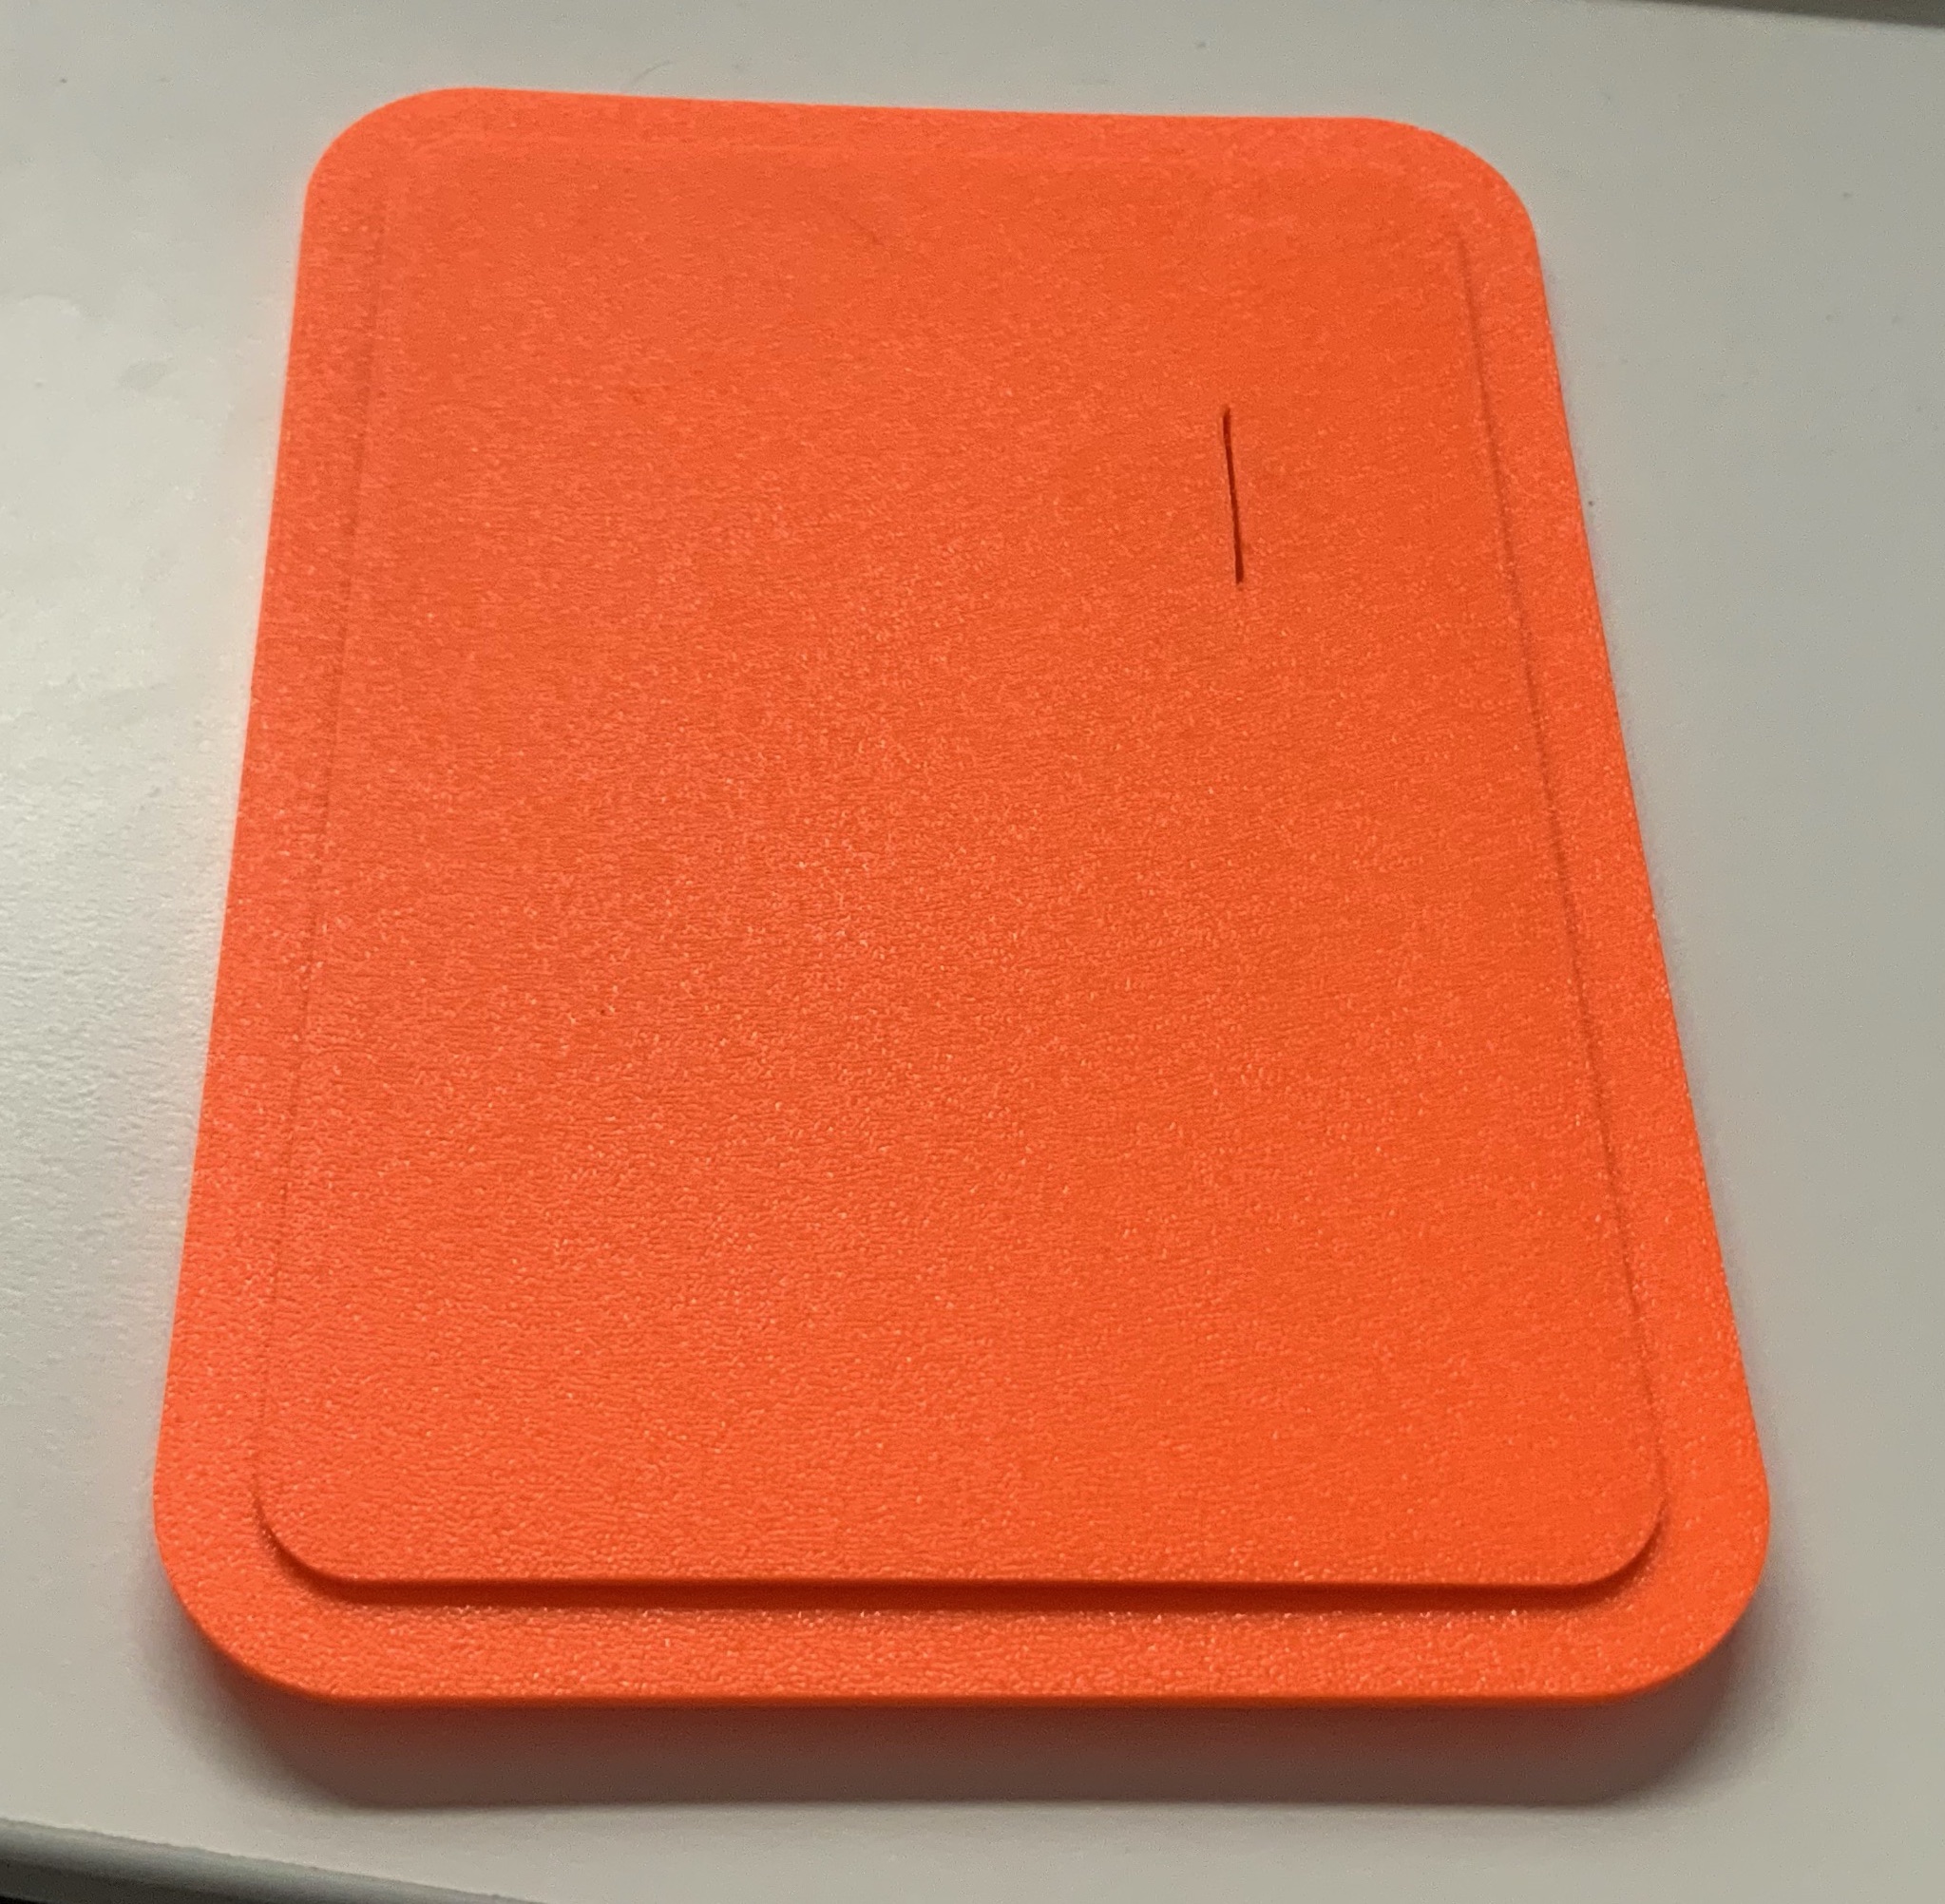
3D Printed Case
A 3D-printed enclosure keeps the overall build cheap and tidy. This page covers the PE-Edition case; for the magnet-held variants see Case Variants, and for direct download links to every model file see Model Files.
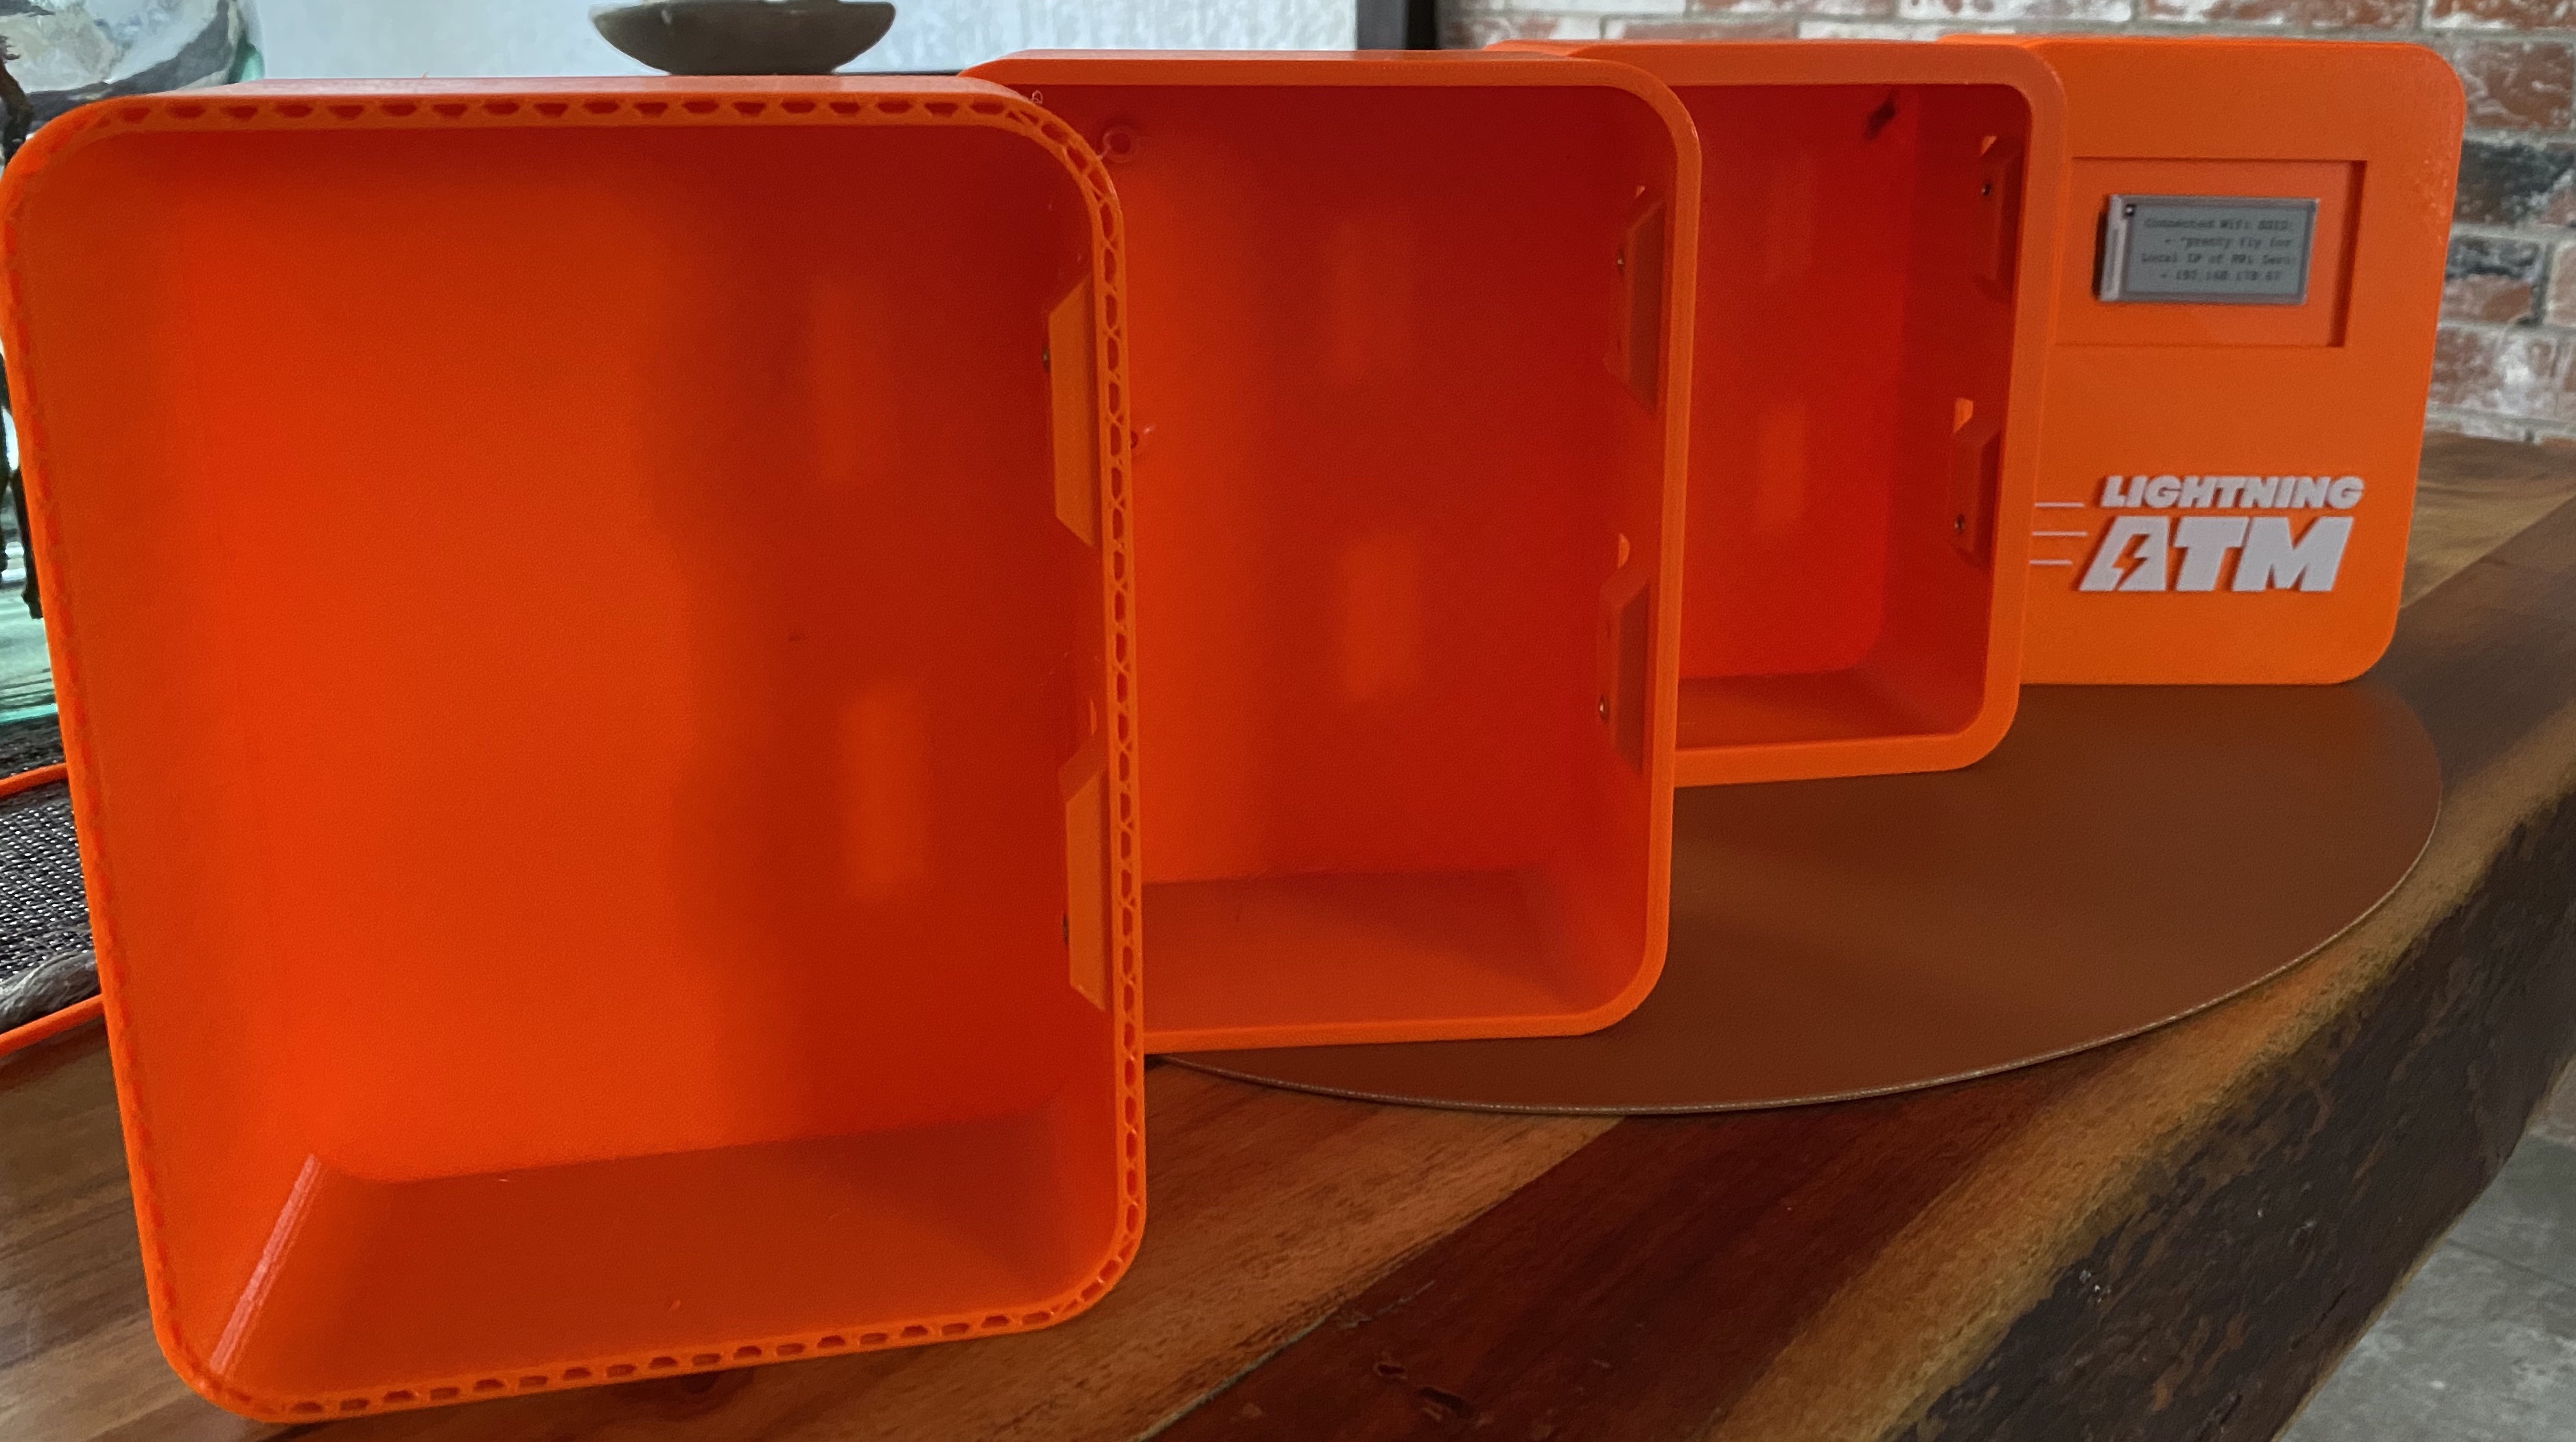
The finished PE-Edition case.
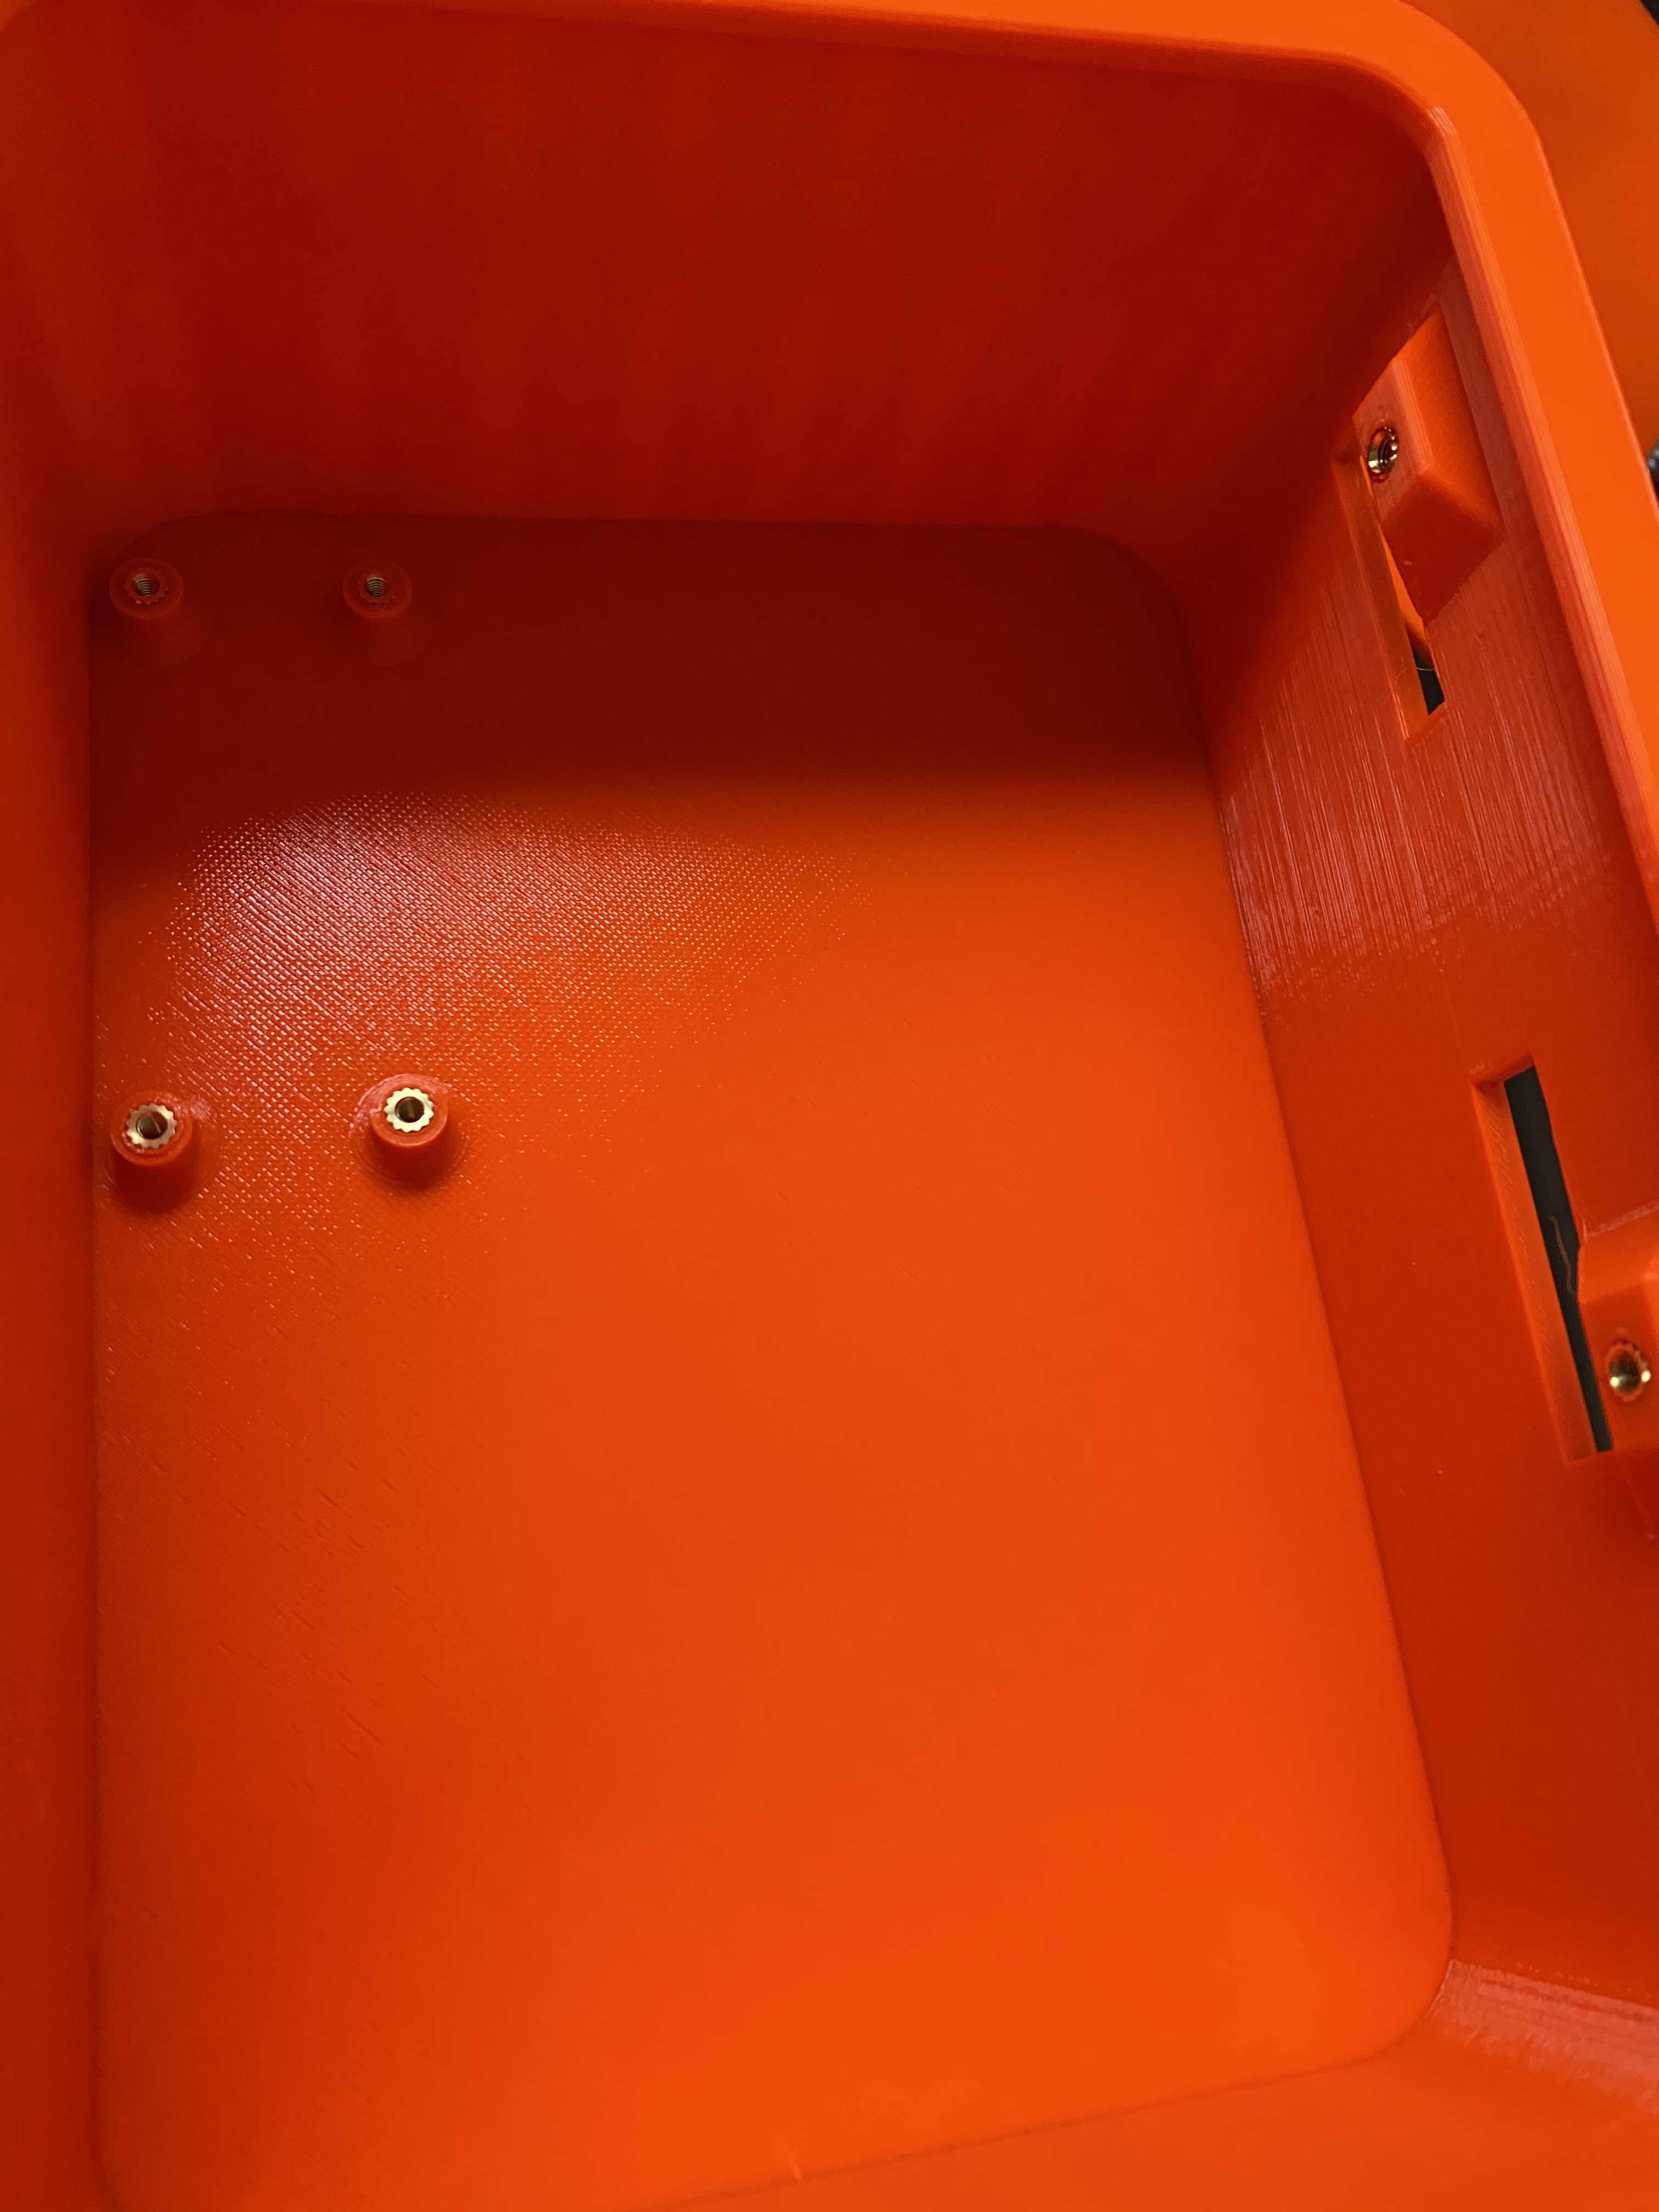
All models can be printed without supports. This first version is designed to use heat-set inserts to mount the coin acceptor and a Raspberry-Pi Zero:
The lids hold by friction fit.
Parts to print
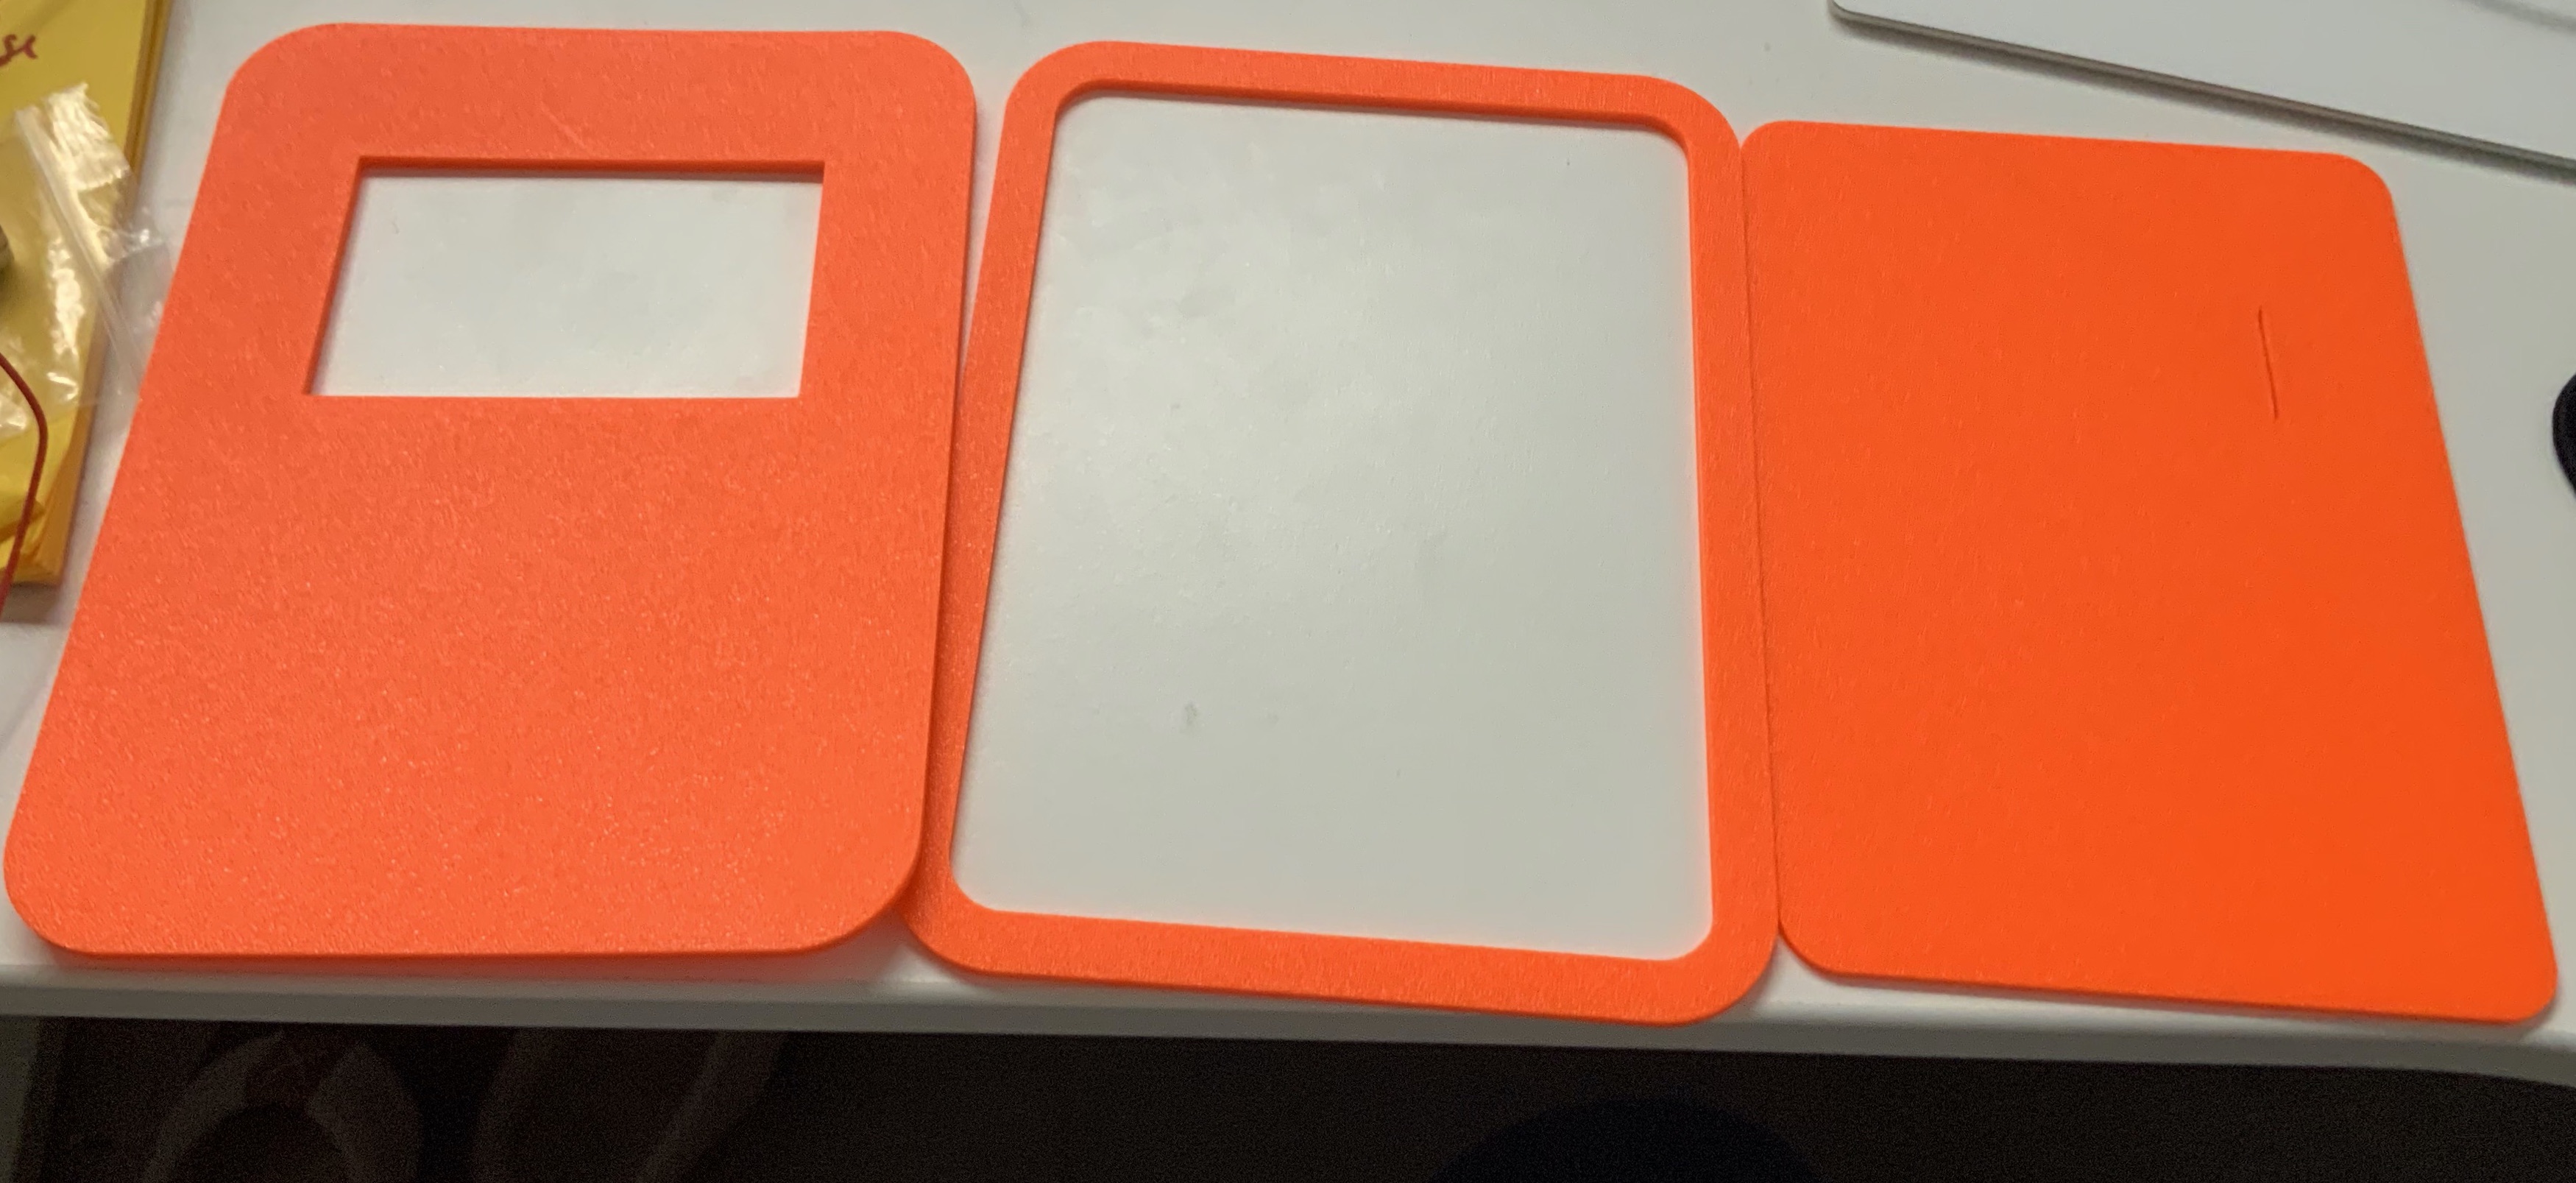
The case needs three core parts plus an optional rim:
Shell — the main body.
Back Lid — two versions: normal (2 mm plate) or thicker (3 mm plate).
Top Lid — two versions:
with Lightning logo — for a dual-colour print, add a colour change at Z 3.00 mm.
without any logo.
Mounting Rim — optional but recommended to cleanly glue the Top Lid onto the Back Lid.
See Model Files for the download links.
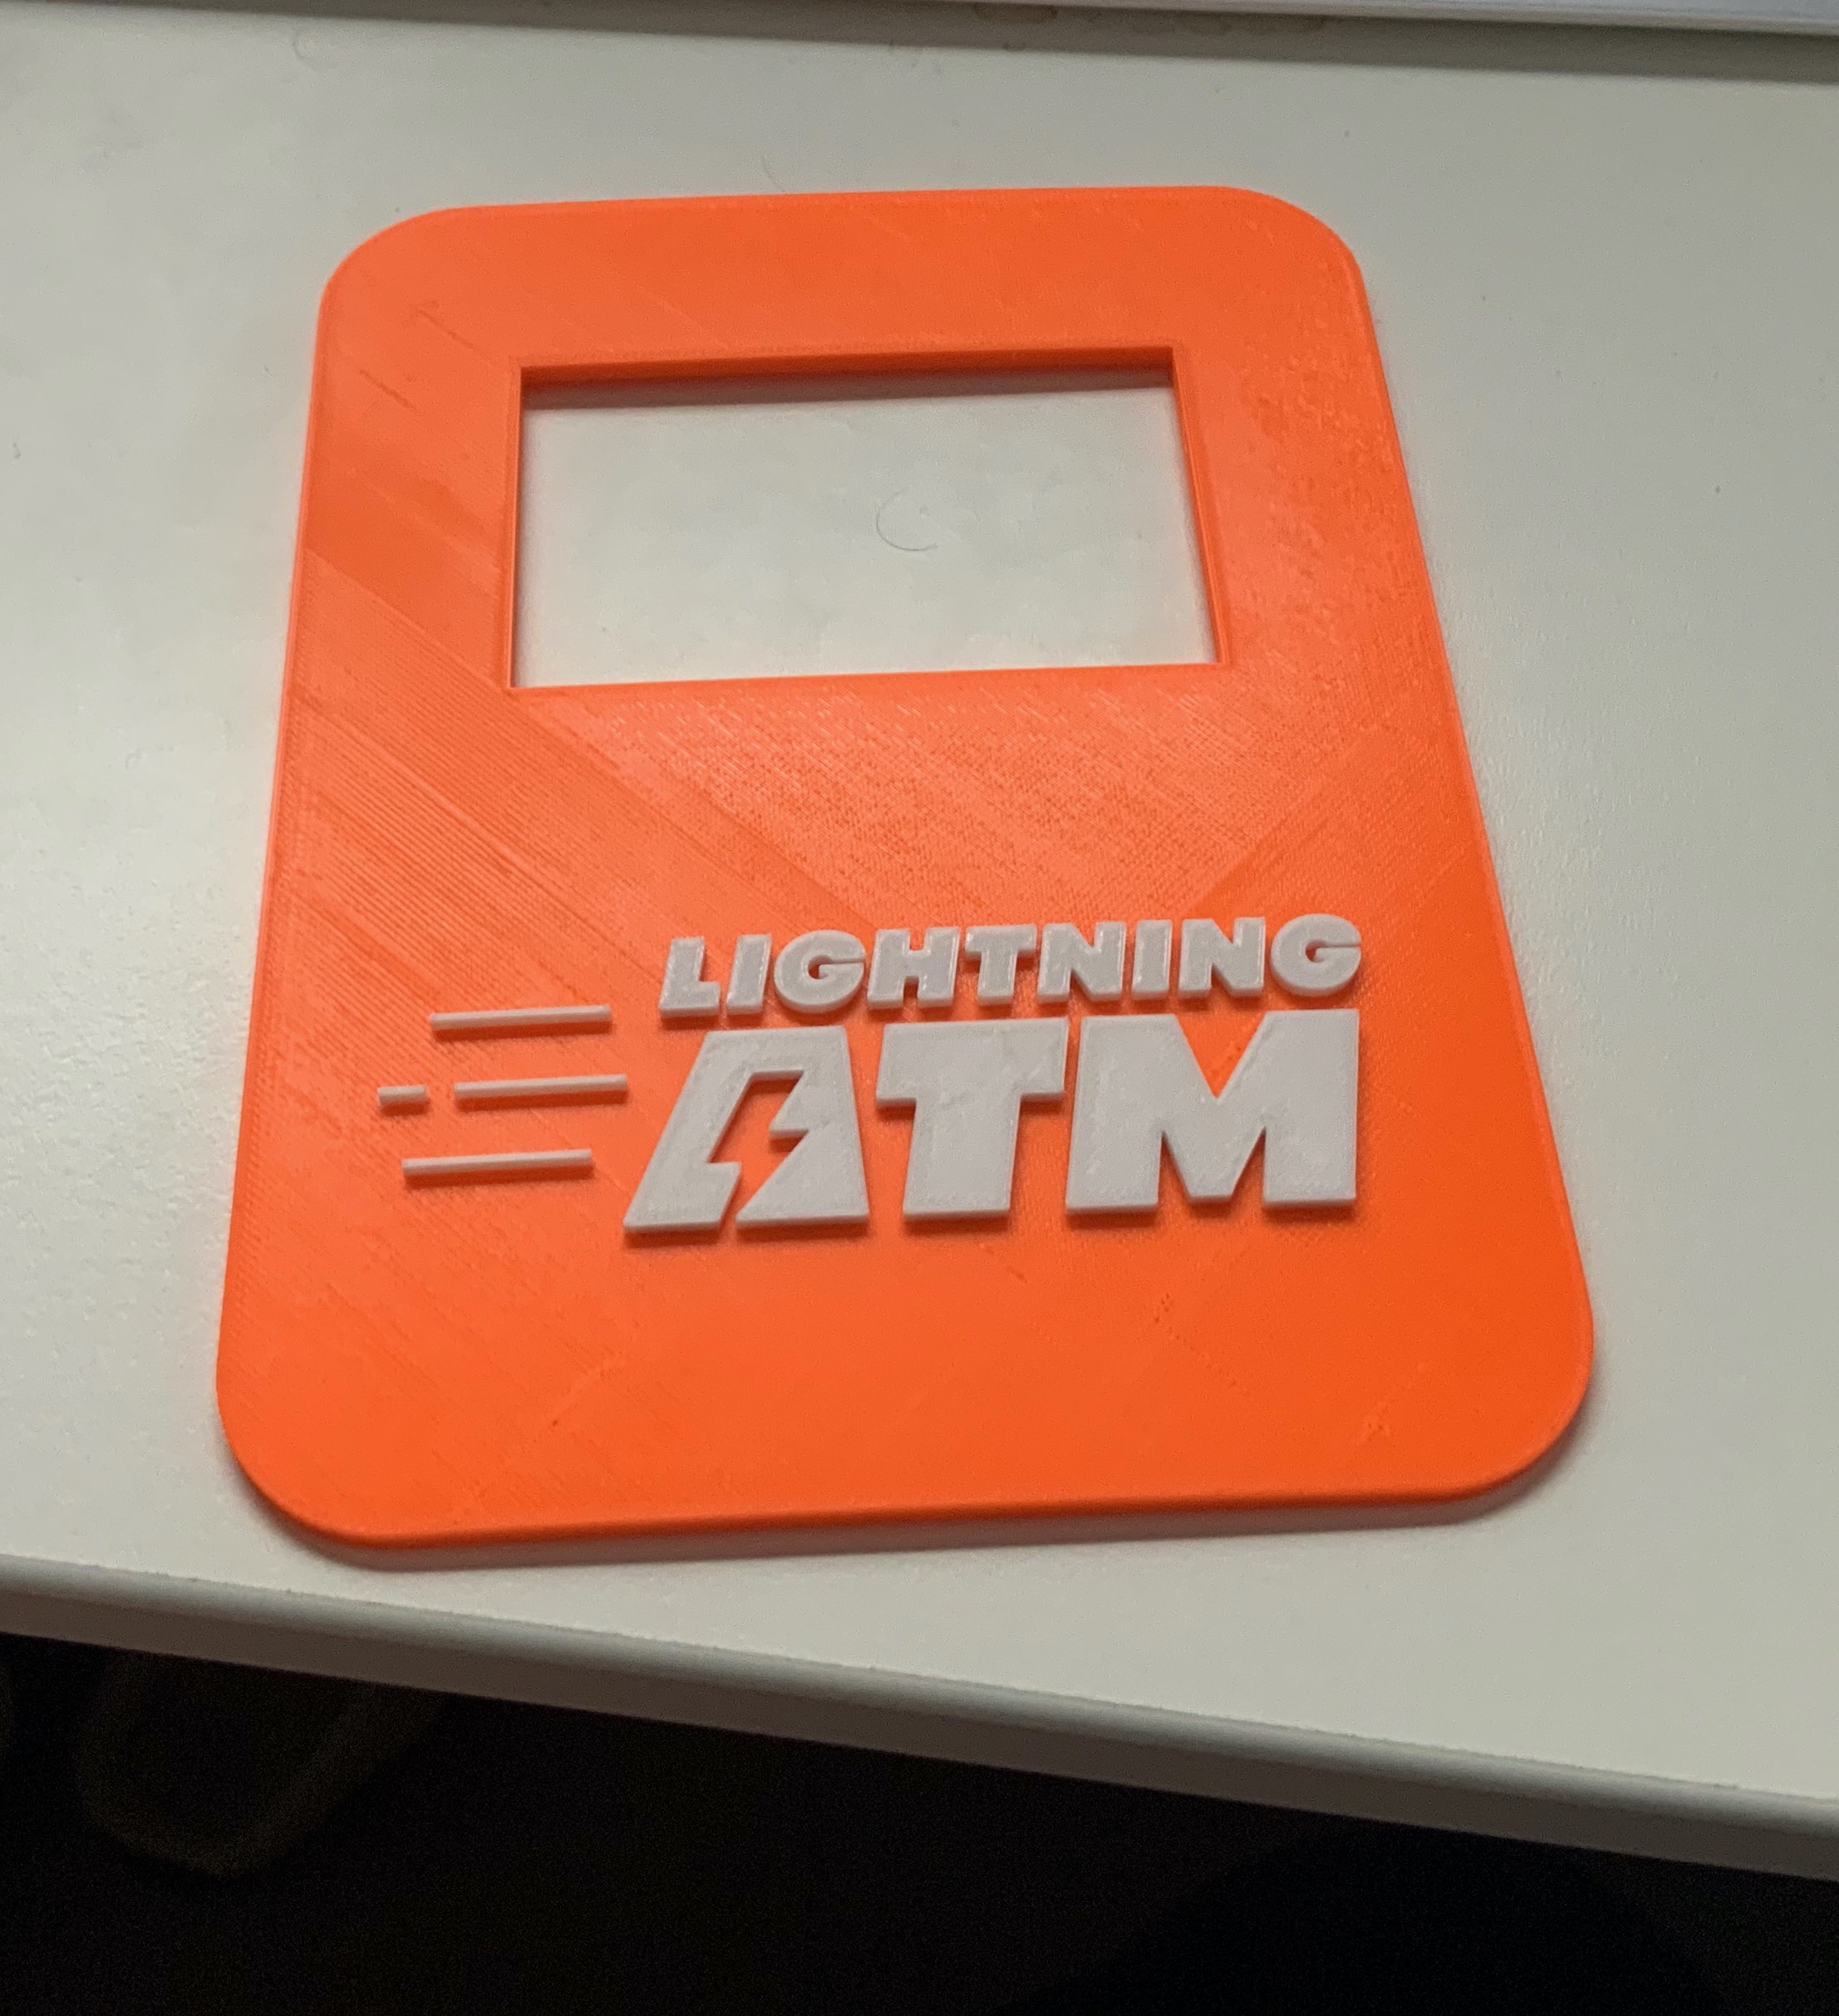
The Top Lid with the Lightning logo (dual-colour print).
Assembly
Print the Shell, Back Lid, Top Lid and (optionally) the Mounting Rim.
Use a soldering iron to set the heat-set inserts:
M3 inserts into the coin-acceptor holes.
M2.5 inserts into the Raspberry-Pi holes.
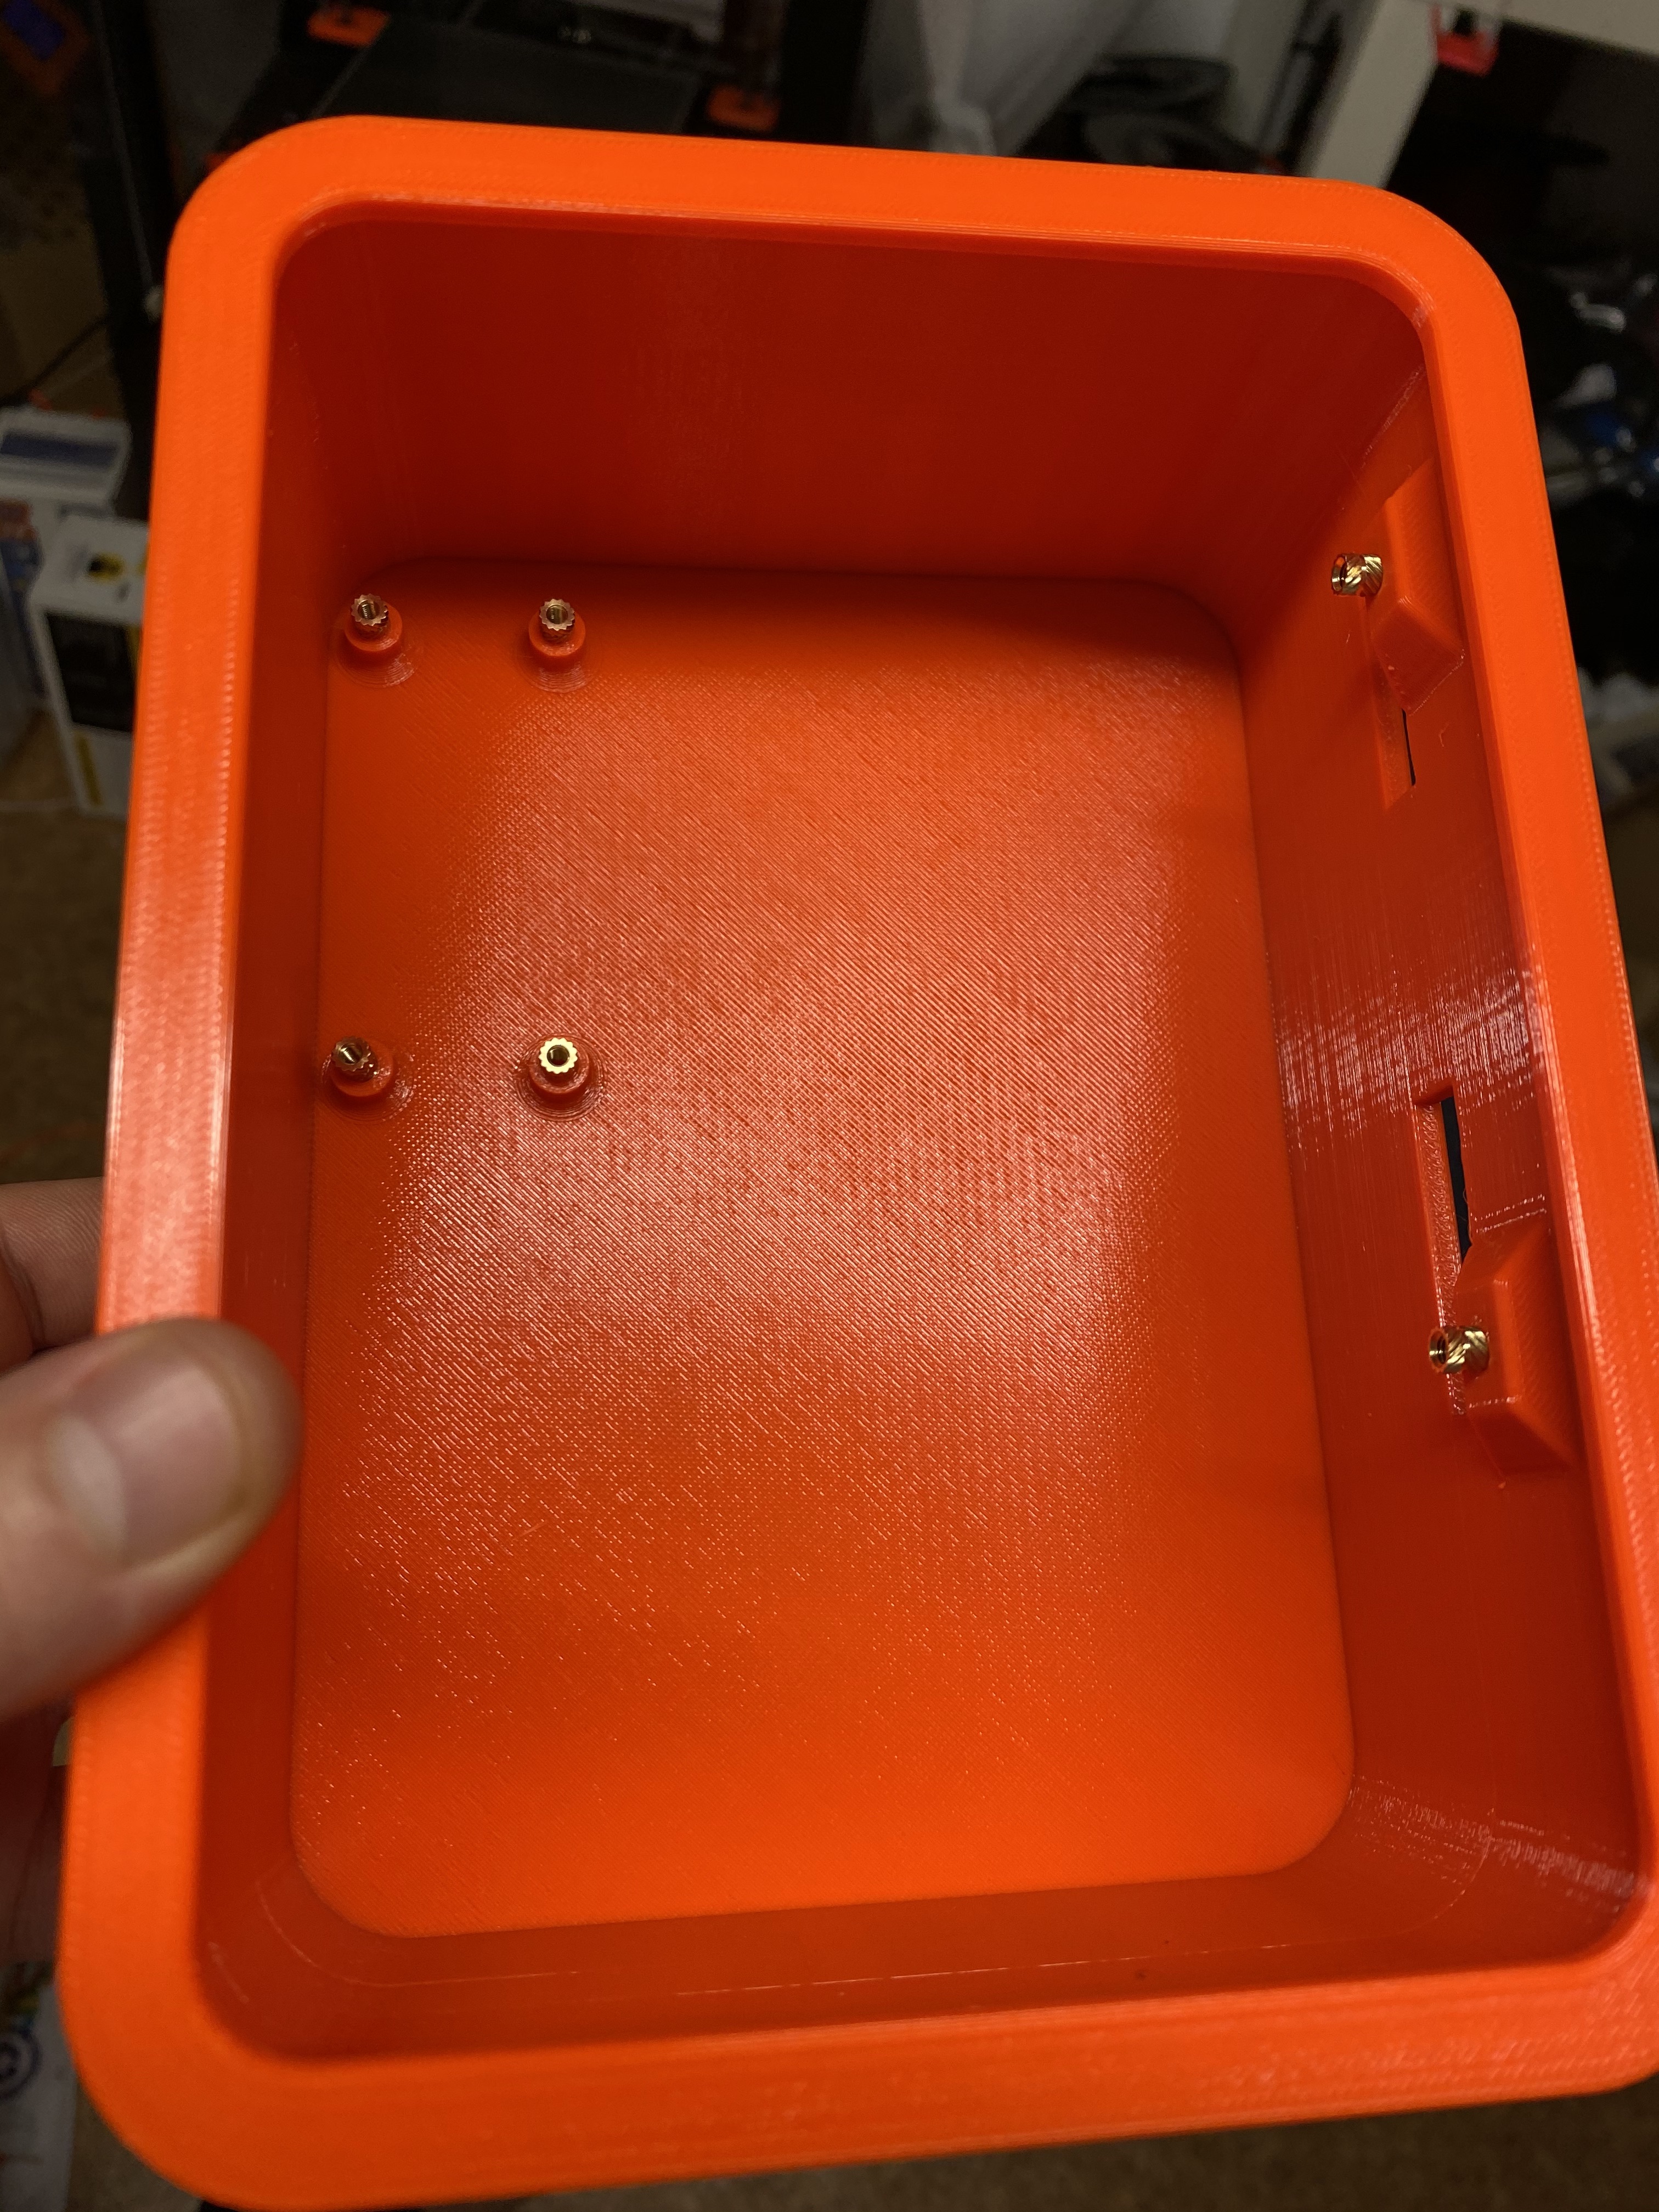
If you printed the Mounting Rim, place it around the Back Lid.
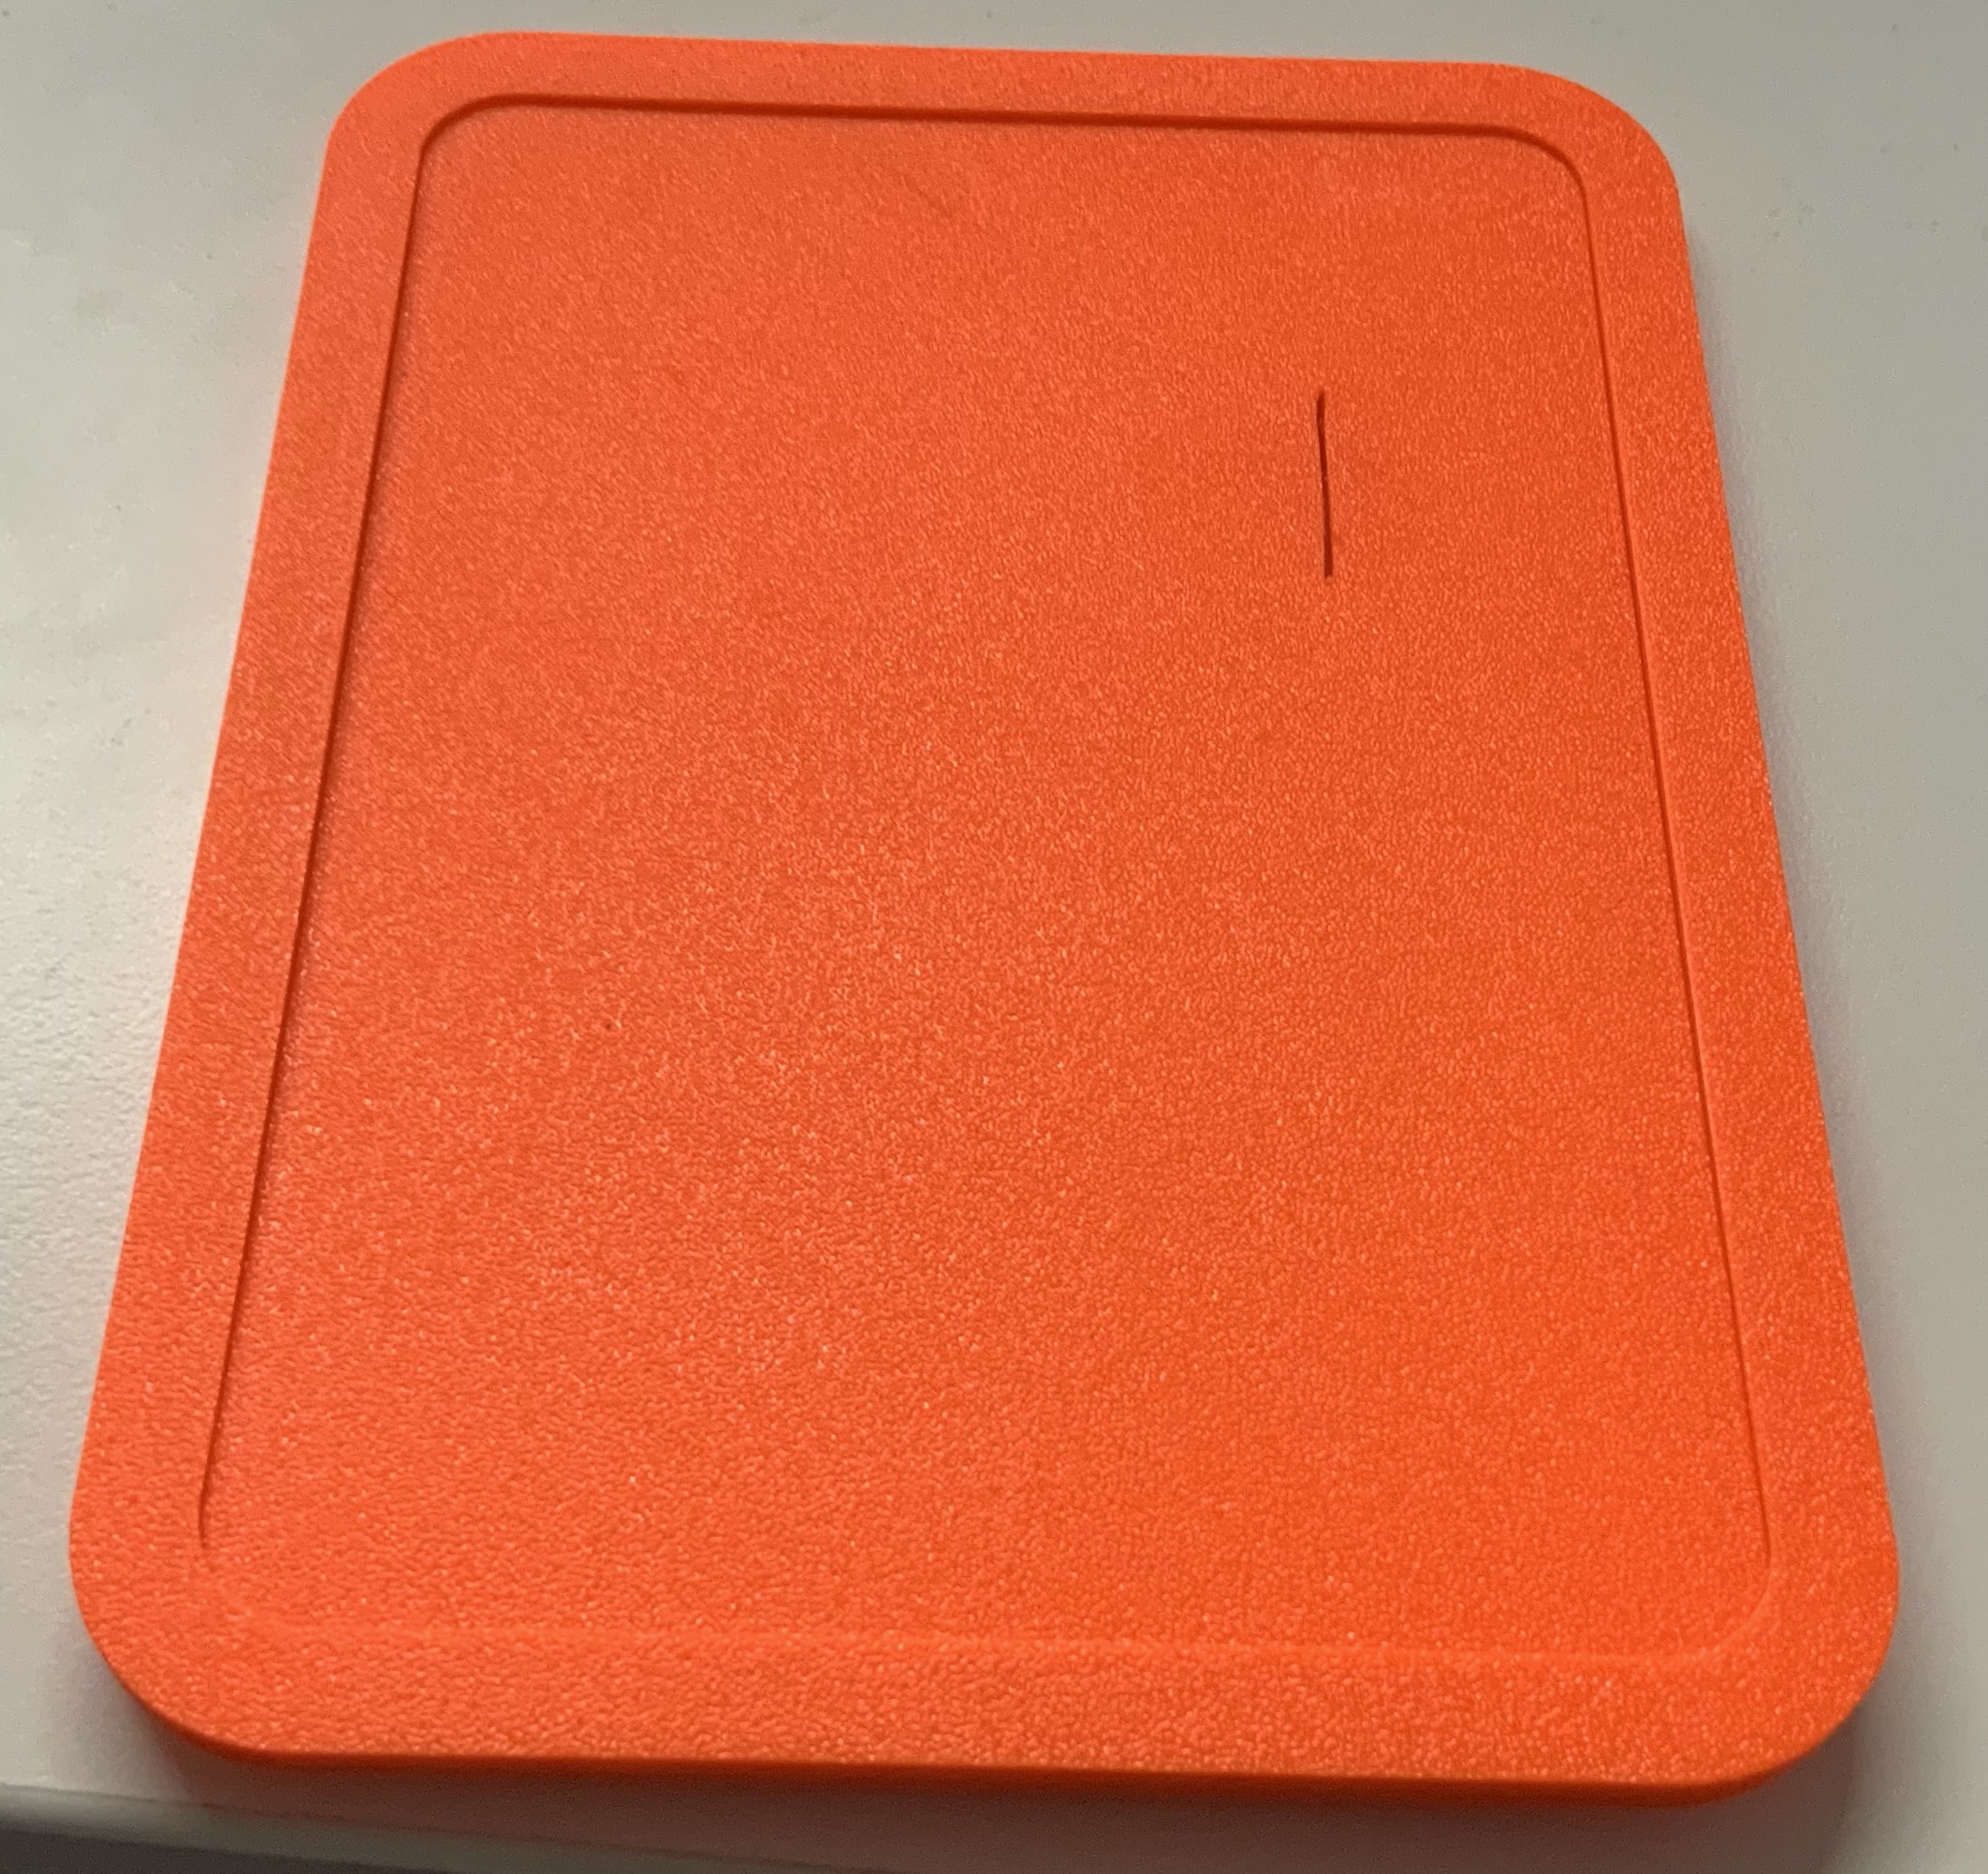
Apply glue to the Top Lid and press the two halves together.
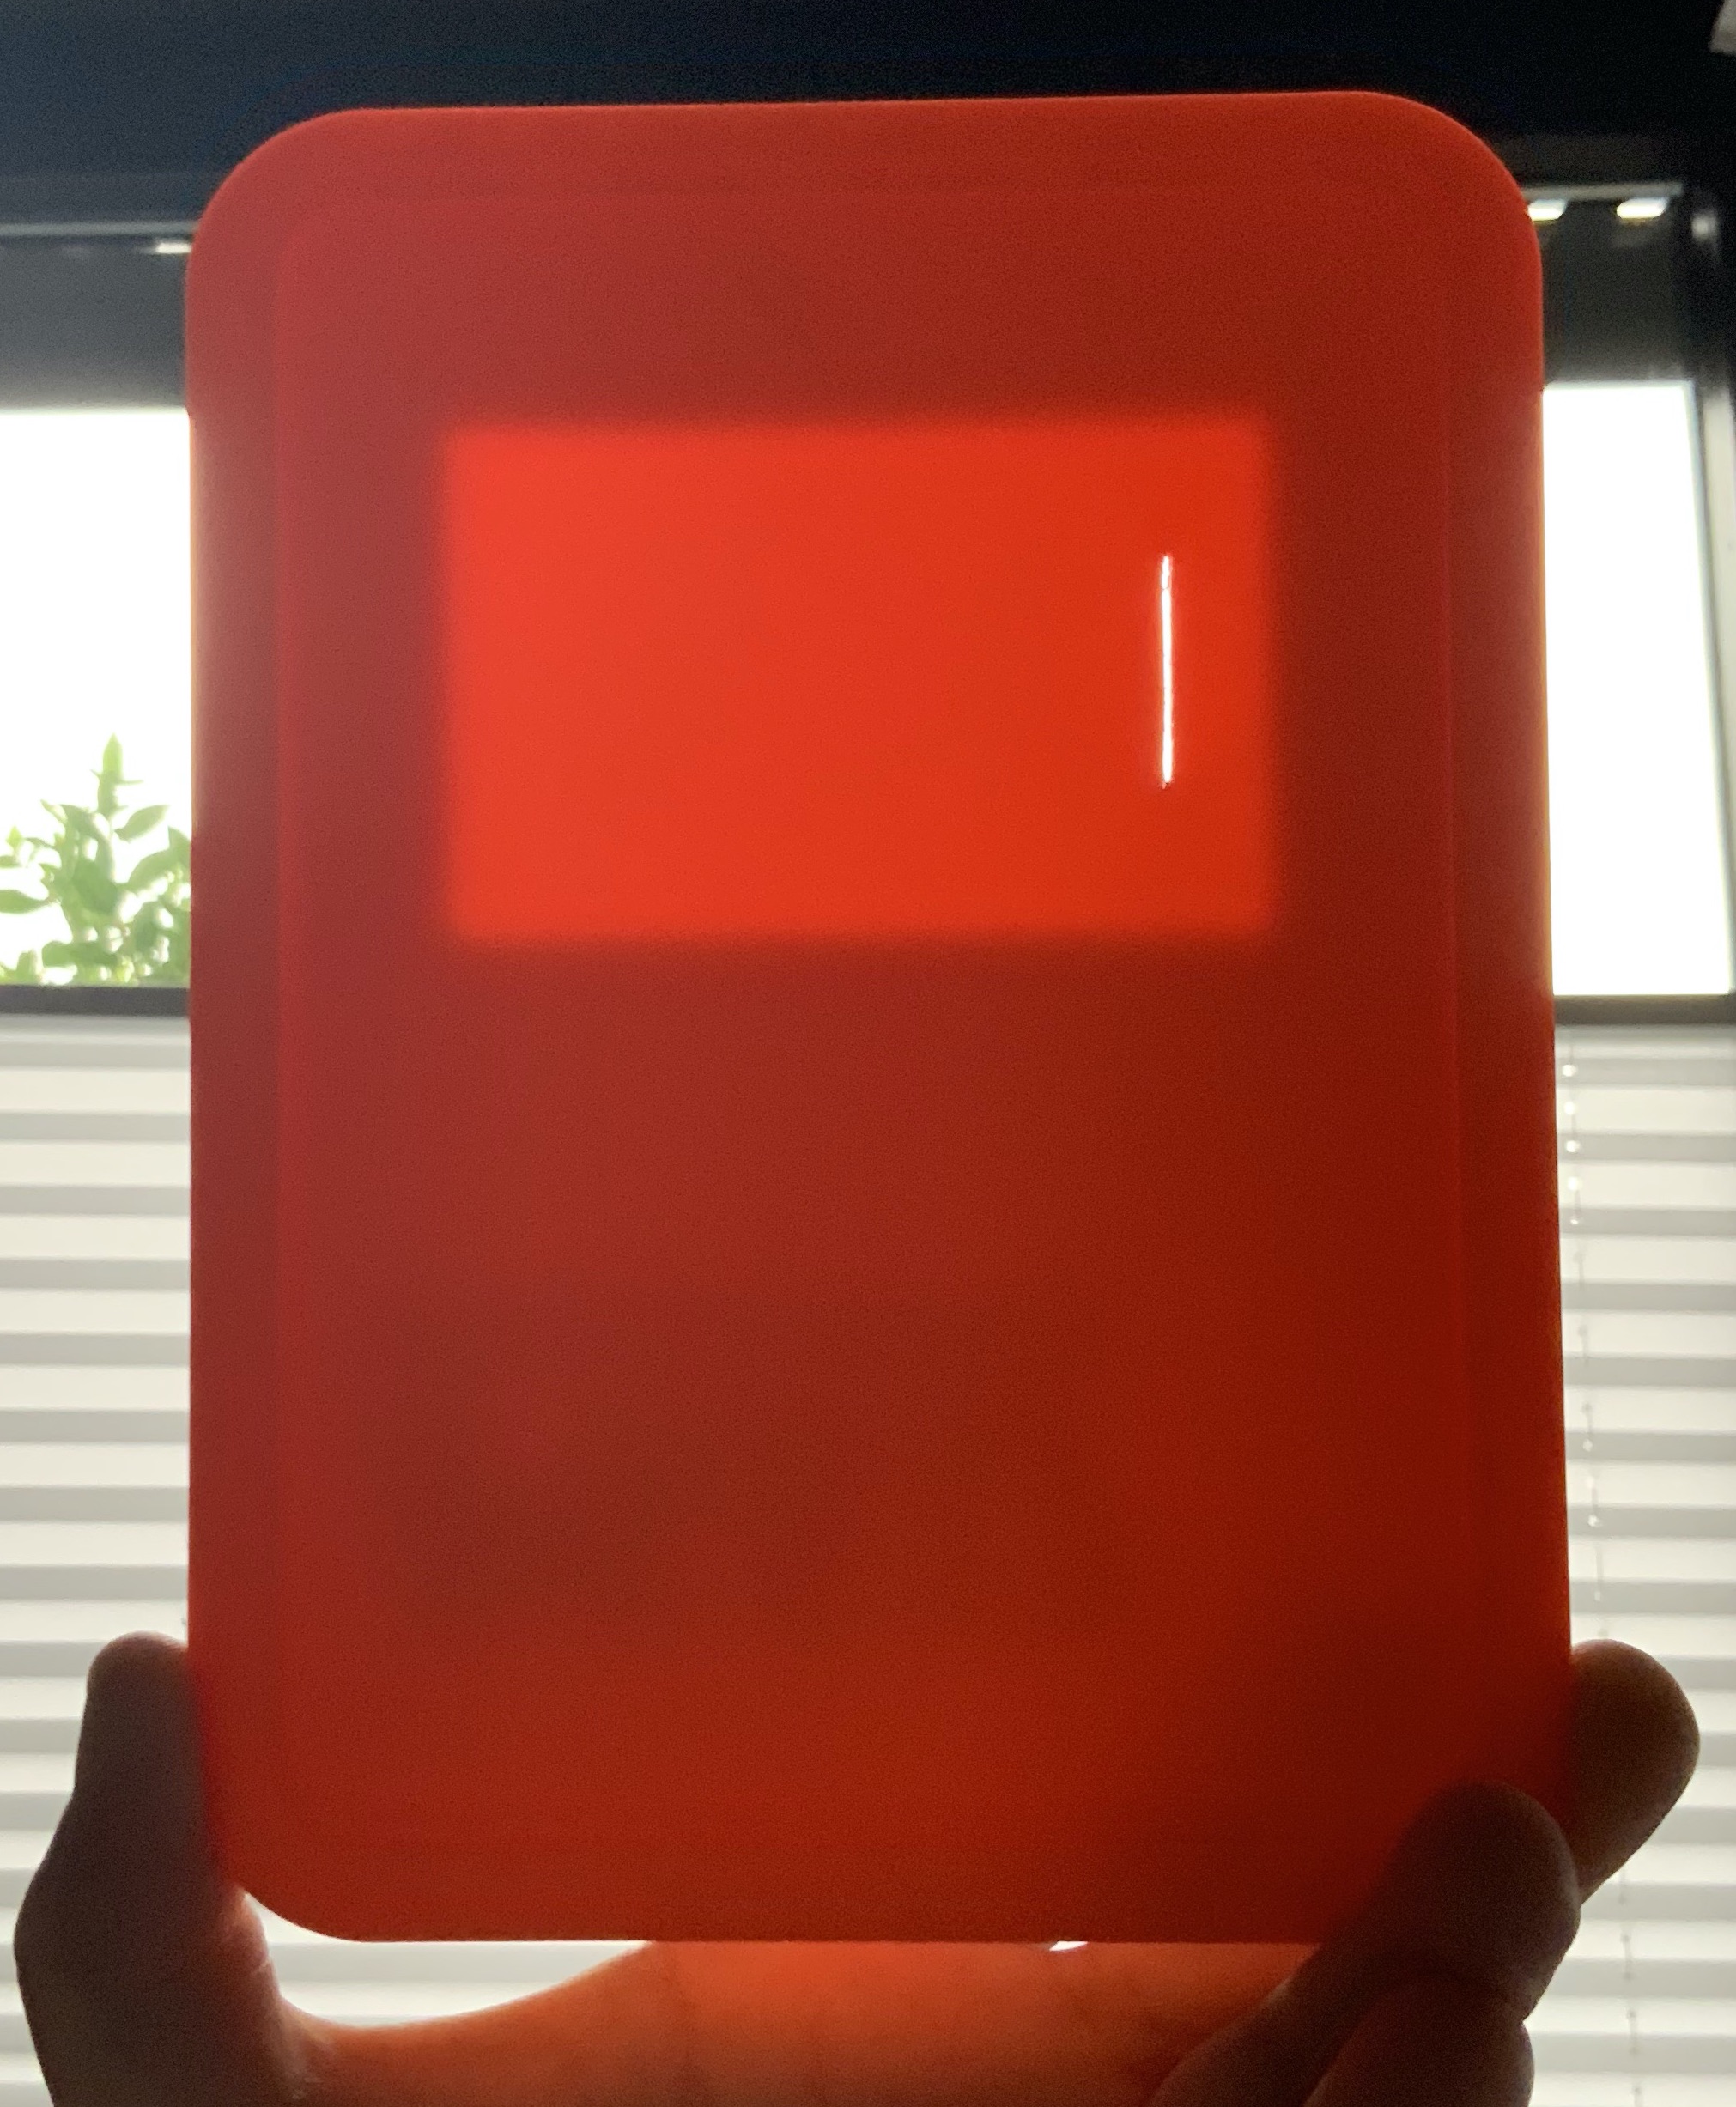
Without the rim, the finished result should look like this: